I procured some interesting materials from the interiors group where I work, unfortunately the cork samples where just a few pieces short and the veneer finishes on wood backing had holes in the top that I could not remove. Too bad about the veneer pieces especially, they were lightweight yet had a good density and would have made a really nice clacking noise when the toy was in action.
Instead of the original material I had in mind I ended up with 3.5″ x 4.5″ wide by 3/4″ thick pine. These heavier pieces took a little trial and error to find the best way to keep the ribbon affixed. Originally I had the cutest little studs that you would use to bling out denim material. Unfortunately the teeth were too shallow and popped out on the first trial run. The solution came in the form of upholstery nails with wide decorative heads and long enough spikes to dig in and hold.
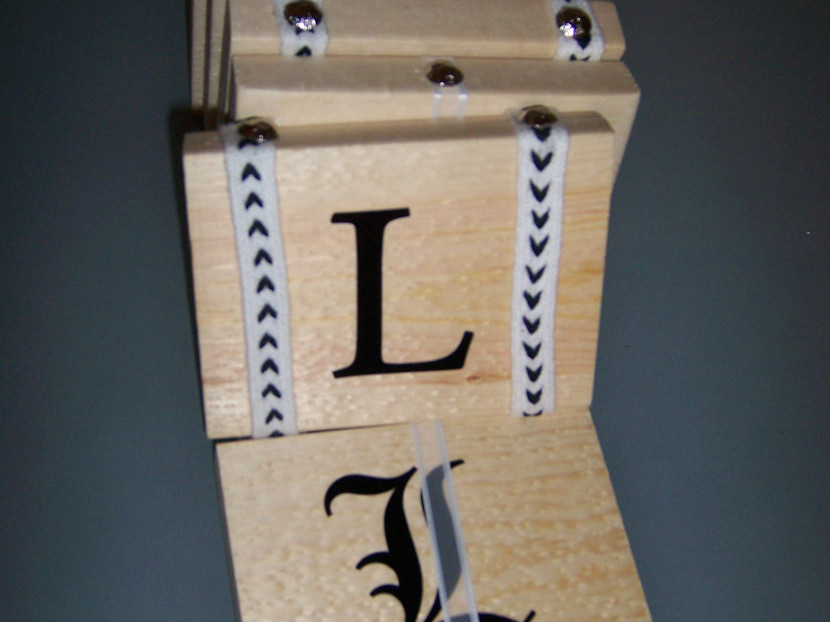
The image below is the first step of assembly once the pieces were sanded smooth.

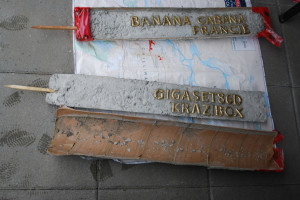
My favourite sign supplier, Steve at Jensen Signs, was instrumental in helping me with the material for the lettering. I sent him some test files for vinyl cut letters and voila! Steve you are a genius. Steve has always been awesome to work with. If you are looking for anything from signs to vehicle graphics give him a call; I recommend consulting Steve at the early part of your design stage (www.jensensigns.com).


At this point I spent considerable time trying to work out the complexities of how to attach the ribbon. When I first started I kept pulling off and re-doing my ribbon because I couldn’t figure out why it kept flipping upside down. I could have saved a lot of time if I had realized that it is supposed to do that.
Below is the final assembled piece.